Skip to content

The Hull Takes Shape – Graf Zeppelin Reaches Full Length

The Graf Zeppelin reaches an important construction milestone as the hull is extended to its full 130 cm length. These assembly steps complete the underwater hull and keel, add the stern, shaft bossings and structural reinforcements, while the carrier's air wing continues to grow with additional Ju 87 Stukas. A welcome diversion comes with an upgraded illuminated anti-aircraft gun, replacing one of the earliest components of the build.

Step 43/140: Starboard side hull extension

This step continues assembly of the starboard-side hull. The screws can be fastened more easily at this stage, as the opposite hull side is not yet in place.

Step 44/140: Upgrades and Surprises: New Aircraft, Structural Mount, and AA Gun Overhaul

After focusing extensively on hull assembly over the past weeks, this stage brings some welcome variety. It consists of three distinct components.

First, another Junkers Ju 87 Stuka is added, this time the sixth aircraft in the build.

Second, a mounting bracket is installed, which will later serve as the key structural link between the hull and the flight deck.

The biggest surprise, however, is a complete replacement of the anti-aircraft gun originally installed in step 2. The new version features a significantly more powerful LED to enhance the firing effect. Since the original gun had been permanently glued in place, the upgrade required removing and replacing not only the gun itself but also sections of the deck, including wooden elements and photo-etched parts.

This step may deviate from the routine, but it adds both technical refinement and visual impact to the overall model.
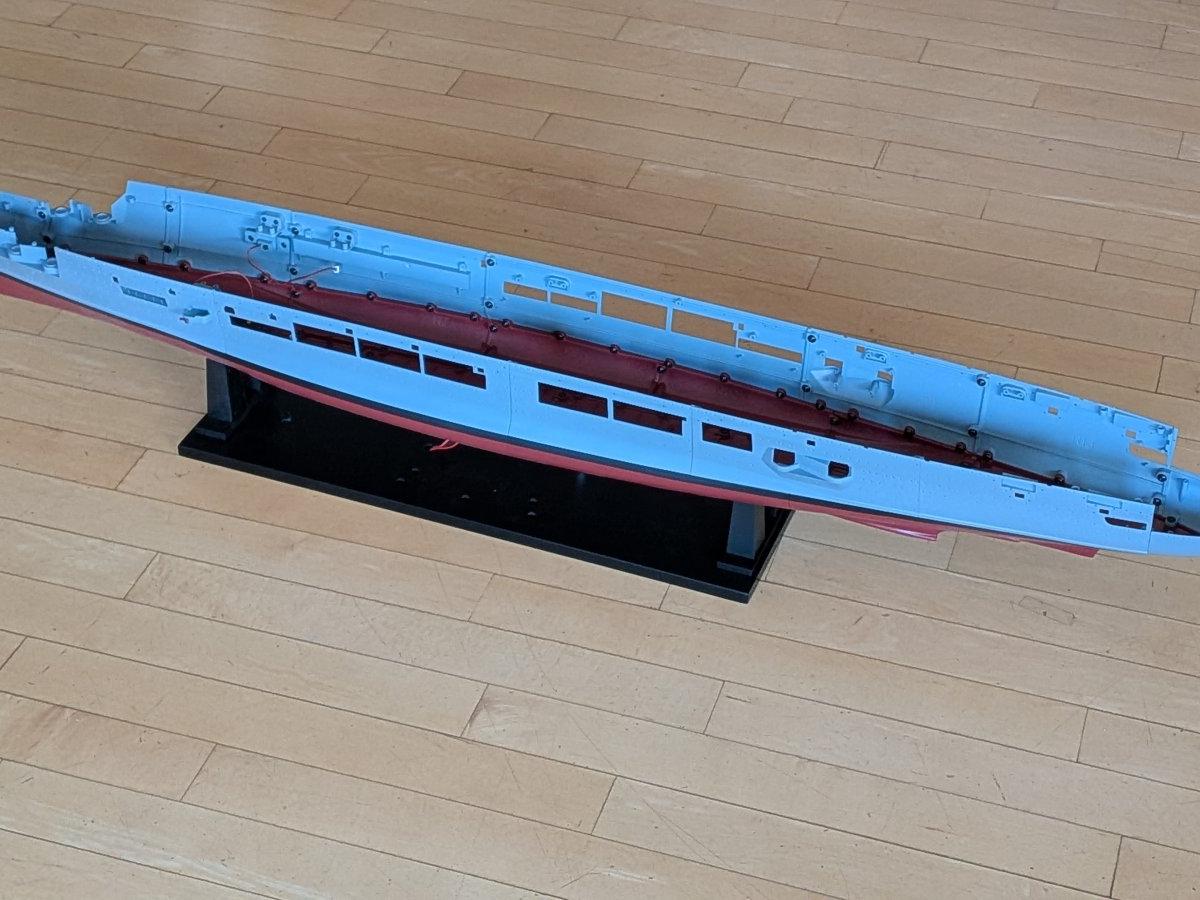
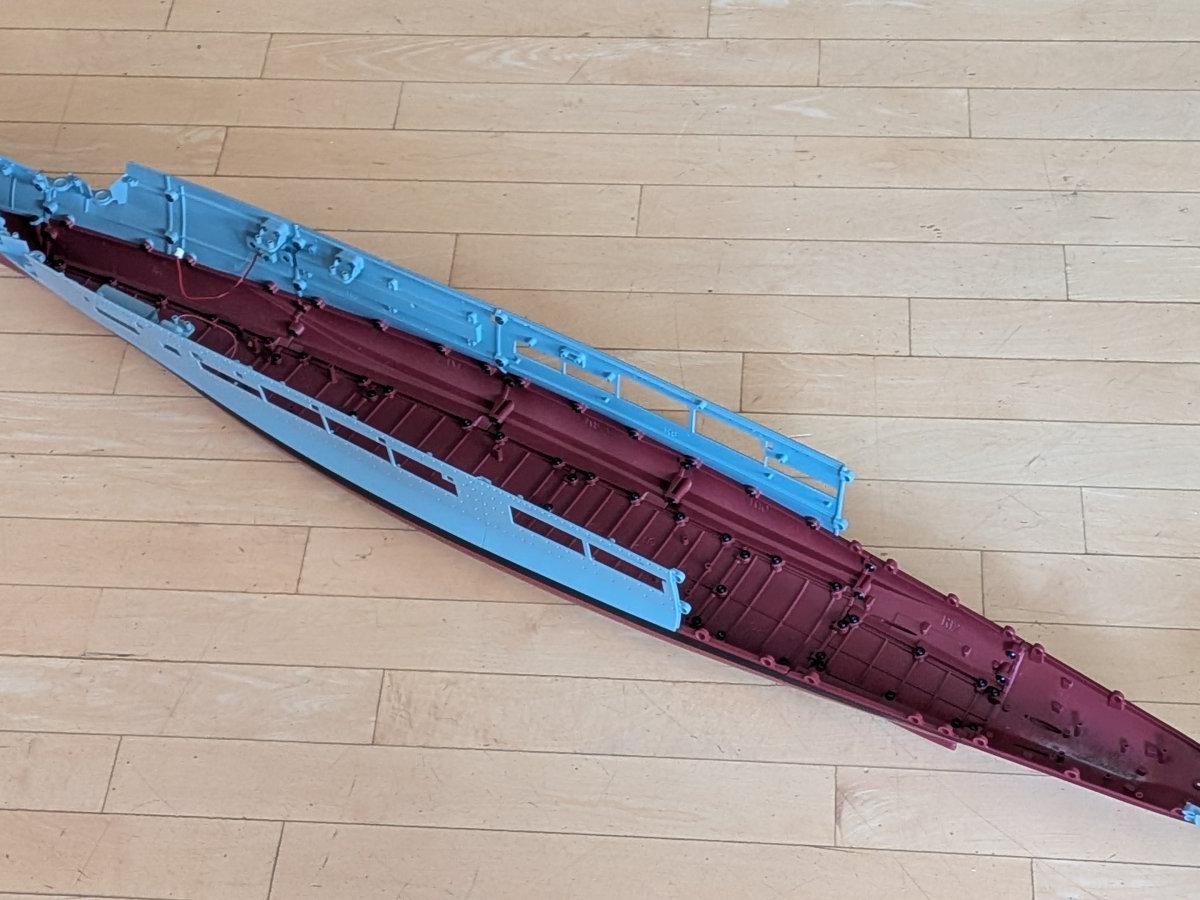
Step 45/140: Port Side Hull Extension – A Stubborn Fit

Work on the hull extension now continues along the port side, where another lower hull section is installed. This particular piece proved quite challenging, as it initially refused to align properly with the surrounding structure. After some careful adjustment and persistence, however, it was finally coaxed into place.


Step 46/140: Port Hull Extension – Tight Fit, Smooth Progress

Another section of the port hull has been added. The build itself was largely straightforward, though the available workspace became noticeably tighter, making it somewhat tricky to tighten the screws with the supplied tools. With this step completed, both sides of the hull are now once again aligned in length.

Step 47/140: Installing the Additional Keel

In this step, hull construction continues with the installation of an additional keel section. The part fits easily into place and significantly improves the overall structural strength of the hull.

Step 48/140: Port Side Expansion: Installing the Tender Section

In this step, the port side of the hull is extended with an additional section that will later accommodate several tender boats. With this part in place, the model’s total weight has now reached approximately 3.5 kg.

Step 49/140: Anothger keel segment

An additional keel segment that is easy to install and provides convenient access for assembly. It improves the overall stability and rigidity of the hull.

Step 50/140: Preparing the Underwater Hull Section

This underwater hull section already includes the mounting points for the shaft bossings, which will be installed in a later steps.

With this section completed, only the stern portion of the hull is still missing.

Step 51/140: Installing the Outer Shaft Bossings & Expanding the Air Wing

This step includes both outer shaft bossings, although only the port-side unit has been installed so far. No screws are required, as the part is directly glued to the hull. The starboard bossing has been set aside for installation at a later stage.

In addition, the seventh Ju 87 dive bomber has been assembled and prepared. The carrier air wing continues to grow and is shown here together with a custom 3D-printed Heinkel He 280 jet fighter.

Step 52/140: Adding the stern

Finally, the underwater stern section is added to the hull. With this component in place, the hull reaches its final length of 130 cm.

Since the hull extension was only carried out on the port side, a gap still remains on the starboard side. This opening will be closed in the next construction steps.

Step 53/140: Closeing the gap

With the installation of the final underwater hull section, the gap in the lower hull was finally closed. Due to the limited building space, fastening the screws completely was a bit tricky, but fortunately the part fitted well and completed the underwater hull nicely.

Step 54/140: Keel completed

It may only look like a simple keel plate, but this is actually the last one. That means the keel and the entire underwater hull are now finished.

I expect the missing hull sections will be added next, and after that we should finally get into some more interesting construction work. To be honest, all those keel and hull plates were a bit repetitive, so I'm looking forward to seeing the ship really start to take shape.


Step 55/140: The eighth Ju 87 and more shaft bossings

The next Ju 87 dive bomber has been assembled and added to the air wing. I may still need to equip it with a centerline 250 kg bomb, as it currently carries only four 50 kg bombs mounted beneath the wings.

In addition, the final two shaft fairings for the inner propellers have now been installed, bringing this part of the construction to completion.

Step 56/140: Building the stern

Assembly of the remaining hull sections begins at the stern and proceeds forward. Attach the stern section to the existing hull structure using the four screws provided.